How do I stake a validator in Easy Mode? (Mainnet & Testnet)
Validator Staking Guide [Easy Mode]
Stakehouse’s Easy Mode allows you to stake an ETH validator in 60 seconds. You are staking your validator with the Ethereum Deposit Contract, and registering your validator with Stakehouse. Registering allows Stakehouse to track increases and decreases in balances on the consensus layer and display them on execution layer derivatives. Enter the dApp here.
After you have completed this process you will have to set up a node.
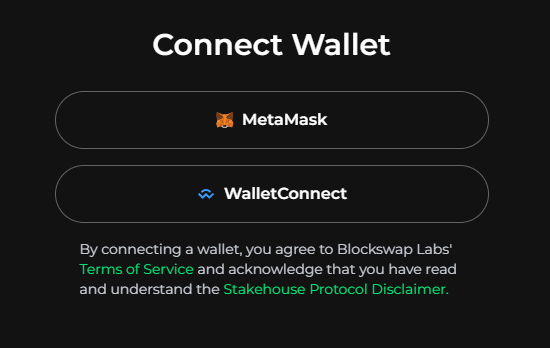
Step #1: Connect Your Wallet
Connect your wallet with the Ethereum network for Mainnet or Goerli for Testnet.
Step #2: Create a Validator
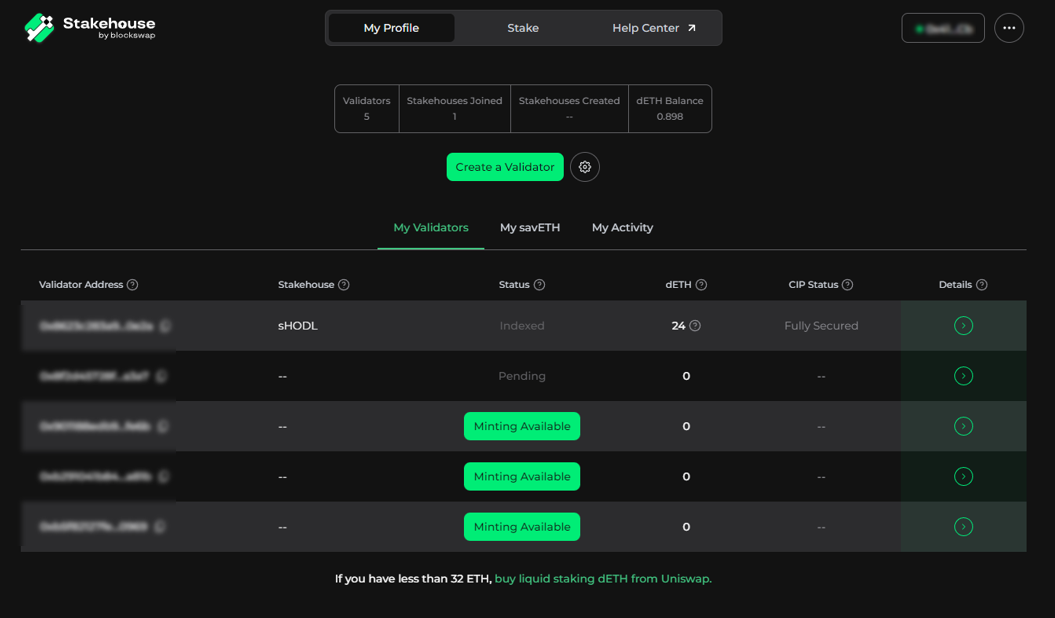
Once you are on the "My Profile" page select "Create a Validator".
Step #3: Create Your Password
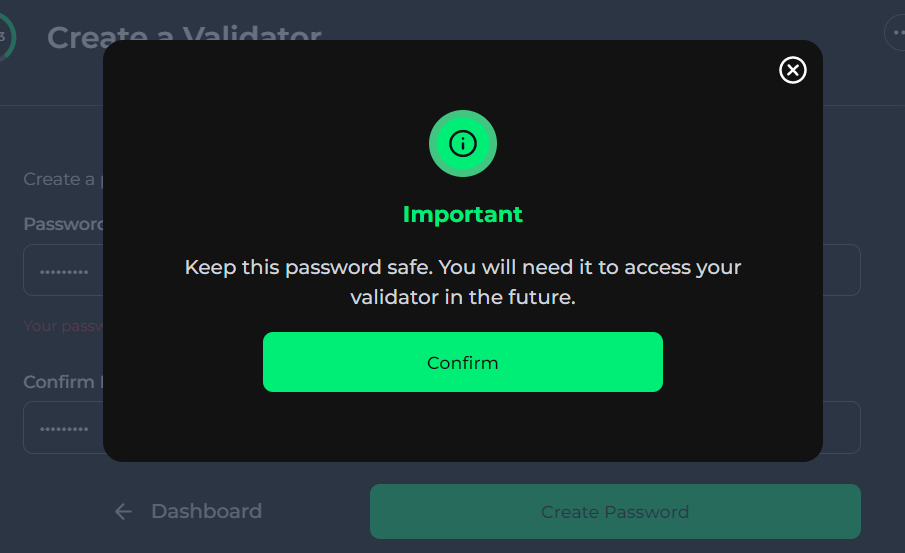
You will create a password that is associated with your validator’s keystore file. Enter the password and select “Create Password”. Secure this password in a safe place and click “Confirm”. It will be required to access your validator in the future.
Step #4: Register Your Validator with Stakehouse
Select “Register” to upload your validator credentials. Registering your validator is storing your encrypted validator keys on the Ethereum Blockchain. Only you have access.
Step #5: Generate and Download Your Validator Keys
Select “Download” to receive your deposit data and keystore files.
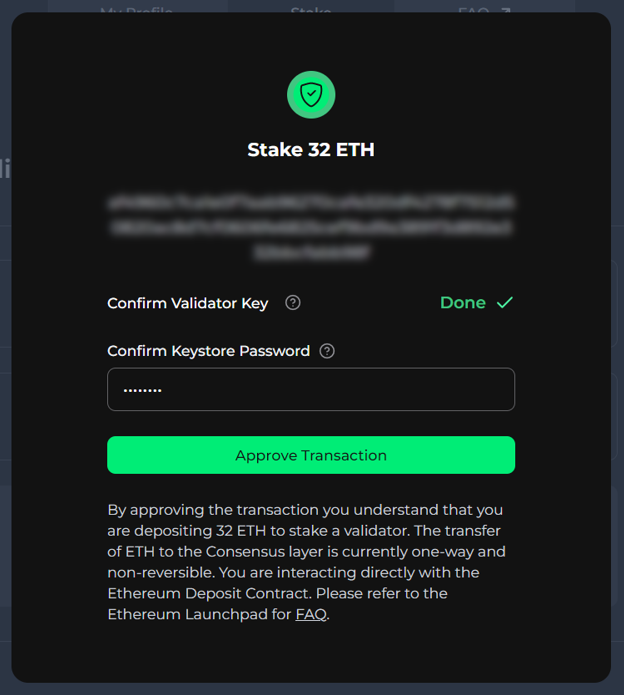
Step #6: Deposit 32 ETH Select “Deposit” to send 32 ETH to the Ethereum Deposit Contract.
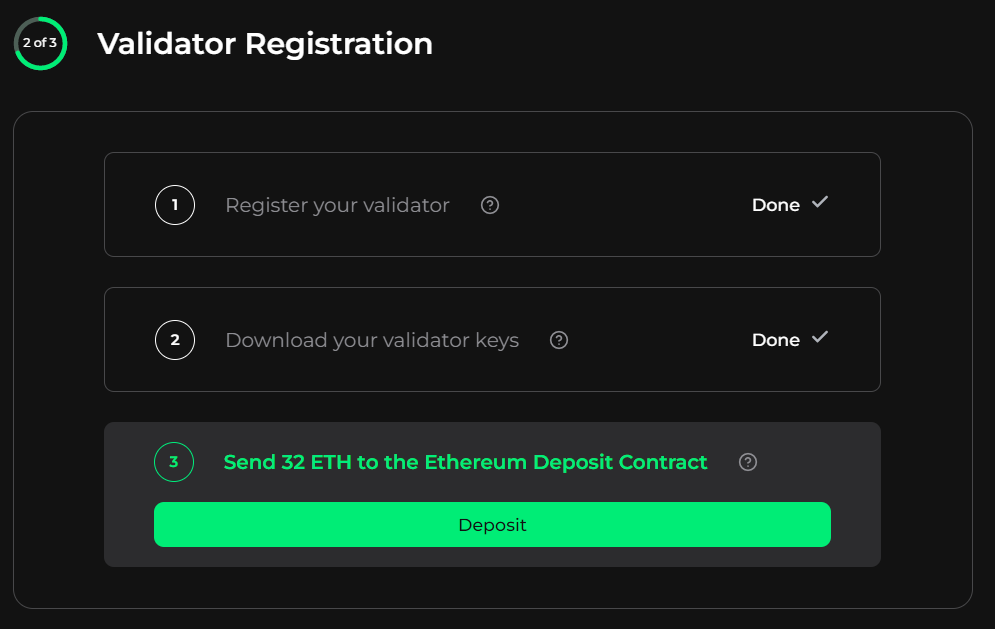
Select “Confirm” if your validator key is correct to approve the transaction. Then select “Approve Transaction” to send 32 ETH.
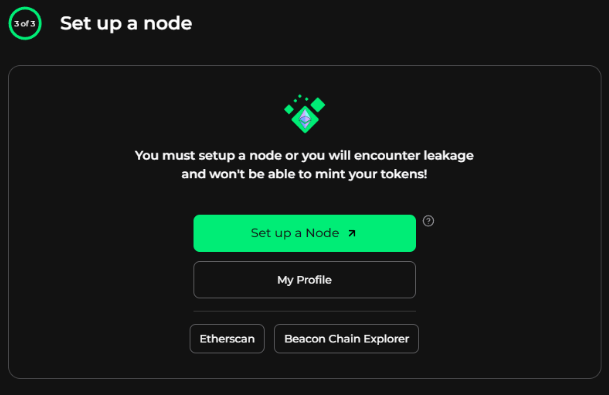
Step #7: Setup a Node
A machine is required to perform validator duties. If you do not have one, here is a link to node setup.
Join the Blockswap Discord for the latest updates, announcements.