How do I withdraw my validator from solo staking?
Validator withdrawal guide for Stakehouse Solo Stakers.
Overview
If you decide to remove your validator from the Stakehouse Solo Staking, follow the steps in this guide to do so.
Keep in mind that this process will remove the validator from Ethereum’s consensus layer, burn all derivative tokens associated with it, eject it from the Stakehouse protocol, and distribute your ETH to your wallet.
IMPORTANT NOTE: Once this process is started, it cannot be undone!
Validator Withdrawal Process
Step 1: Initiate the Withdrawal Process
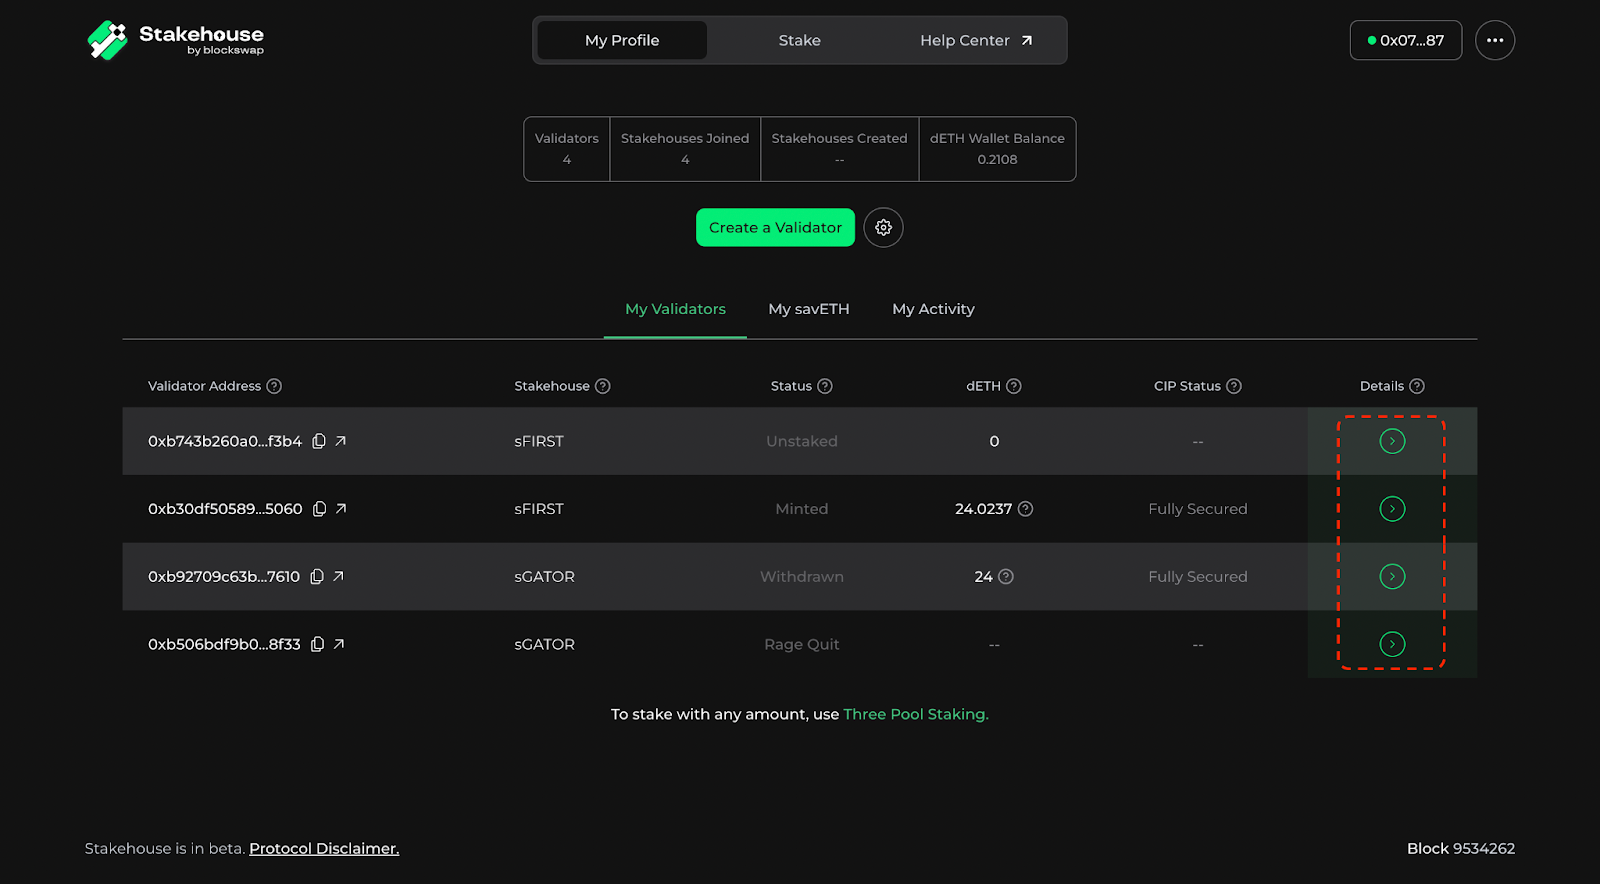
Navigate to the Stakehouse Solo Staking dApp. Once you have connected your wallet, click on the green arrow on the right side of the validator you want to withdraw.
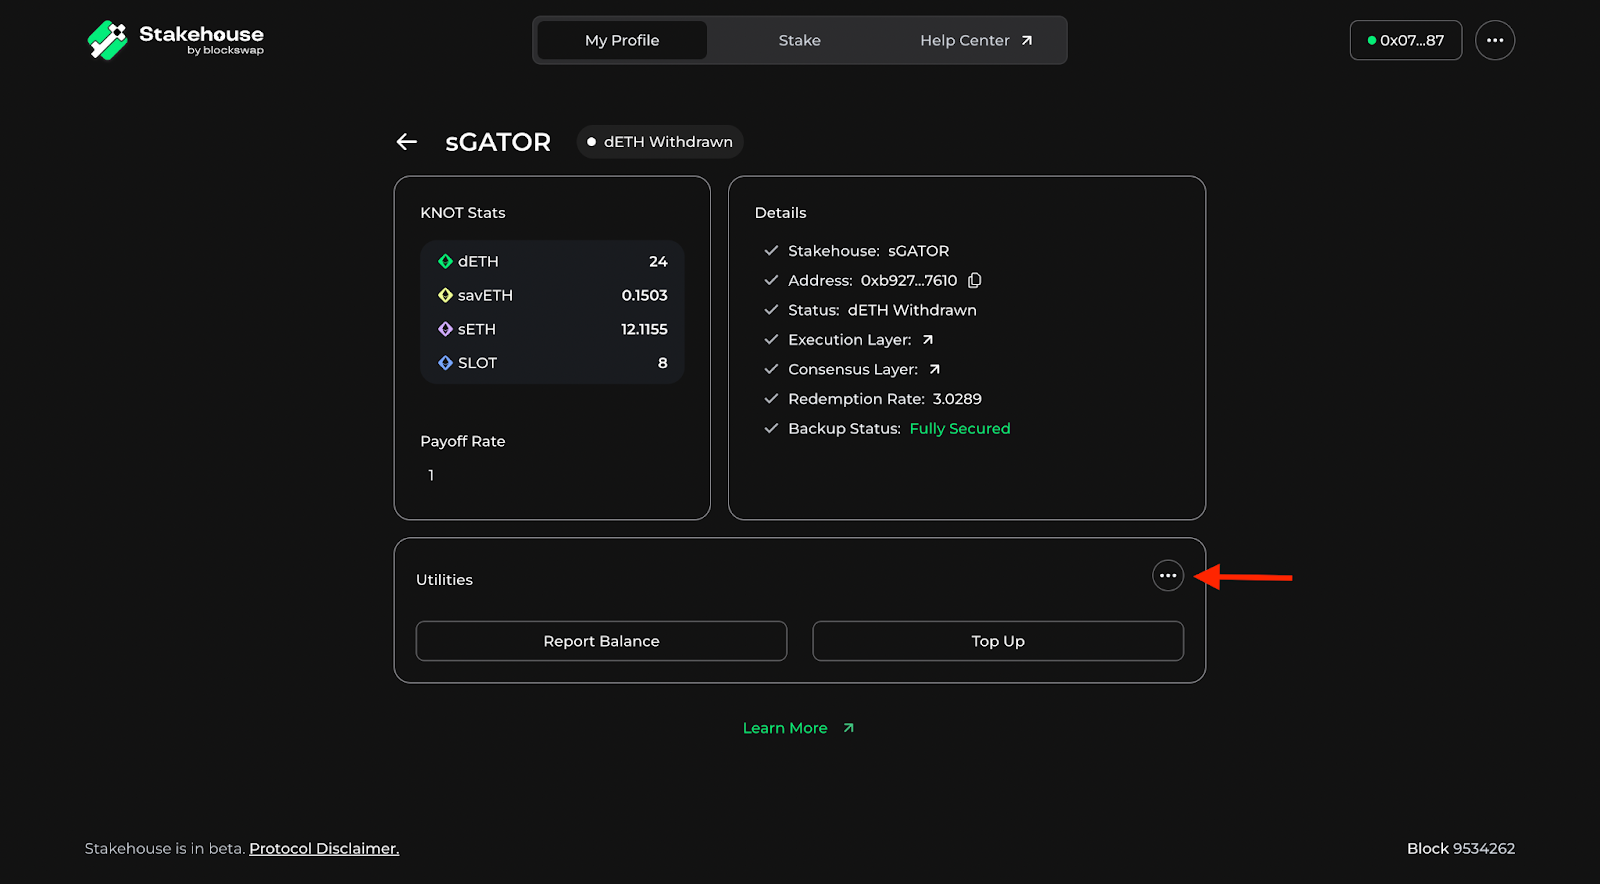
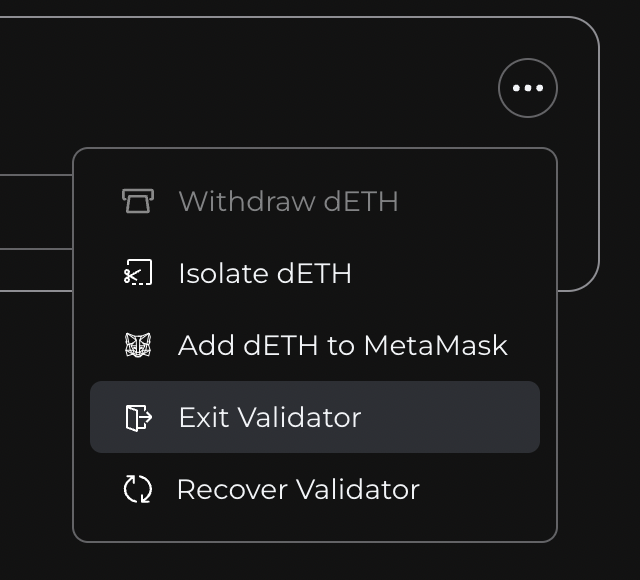
This will take you to the validator’s details page. From here, click on the three dots on the right side of the “Utilities” section and select “Exit Validator”.
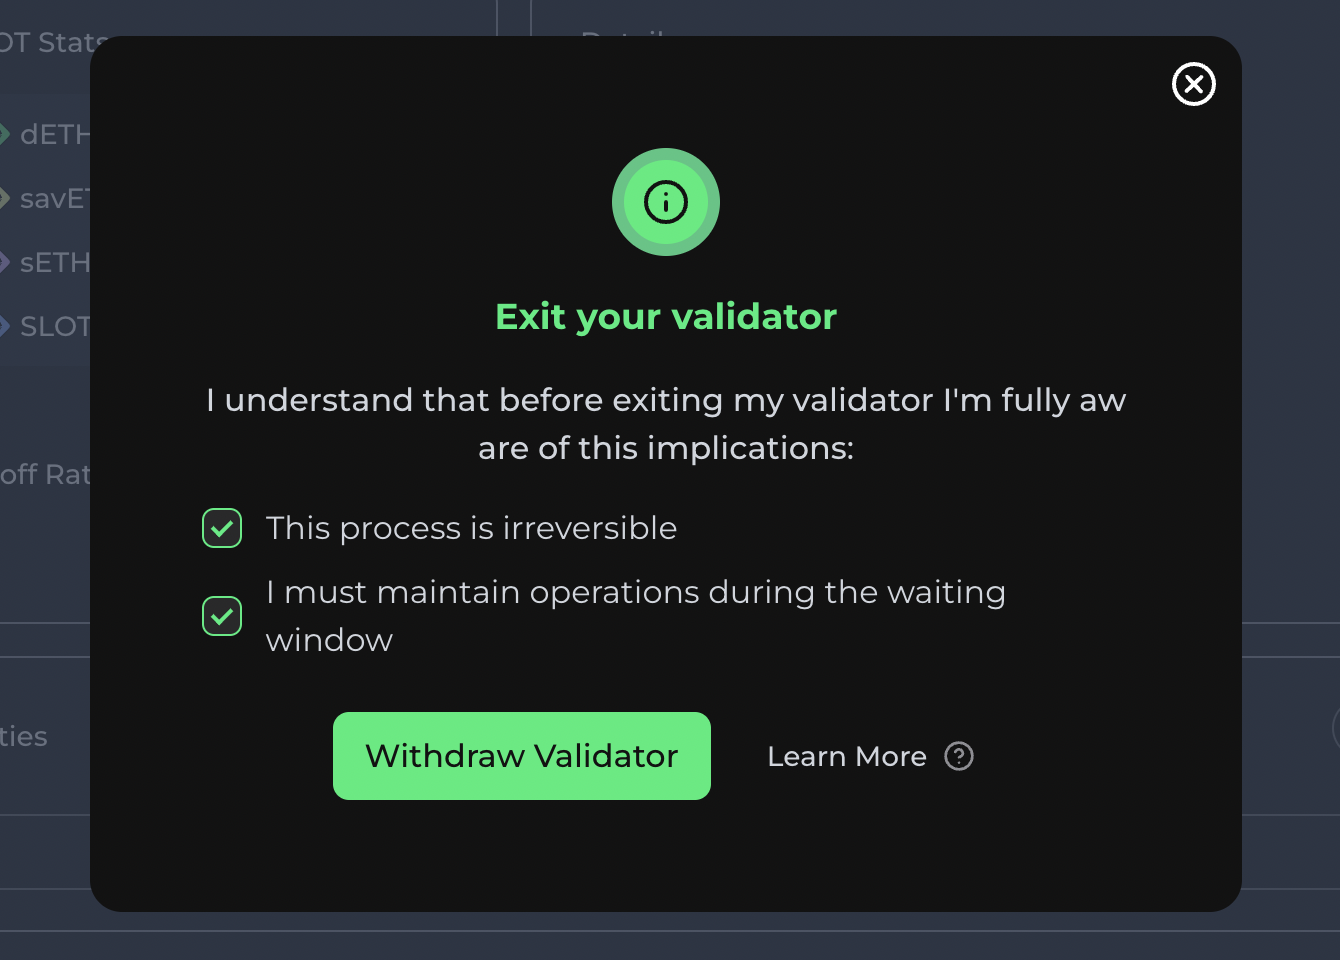
Next, you will be prompted with a pop-up acknowledging that this process is irreversible and that you must maintain operations while your validator is in the withdrawal queue. Check both boxes and click “Withdraw Validator”.
Step 2: Confirm Your Keystore File
Select the keystore file for your validator, enter its password, and click “Confirm”.
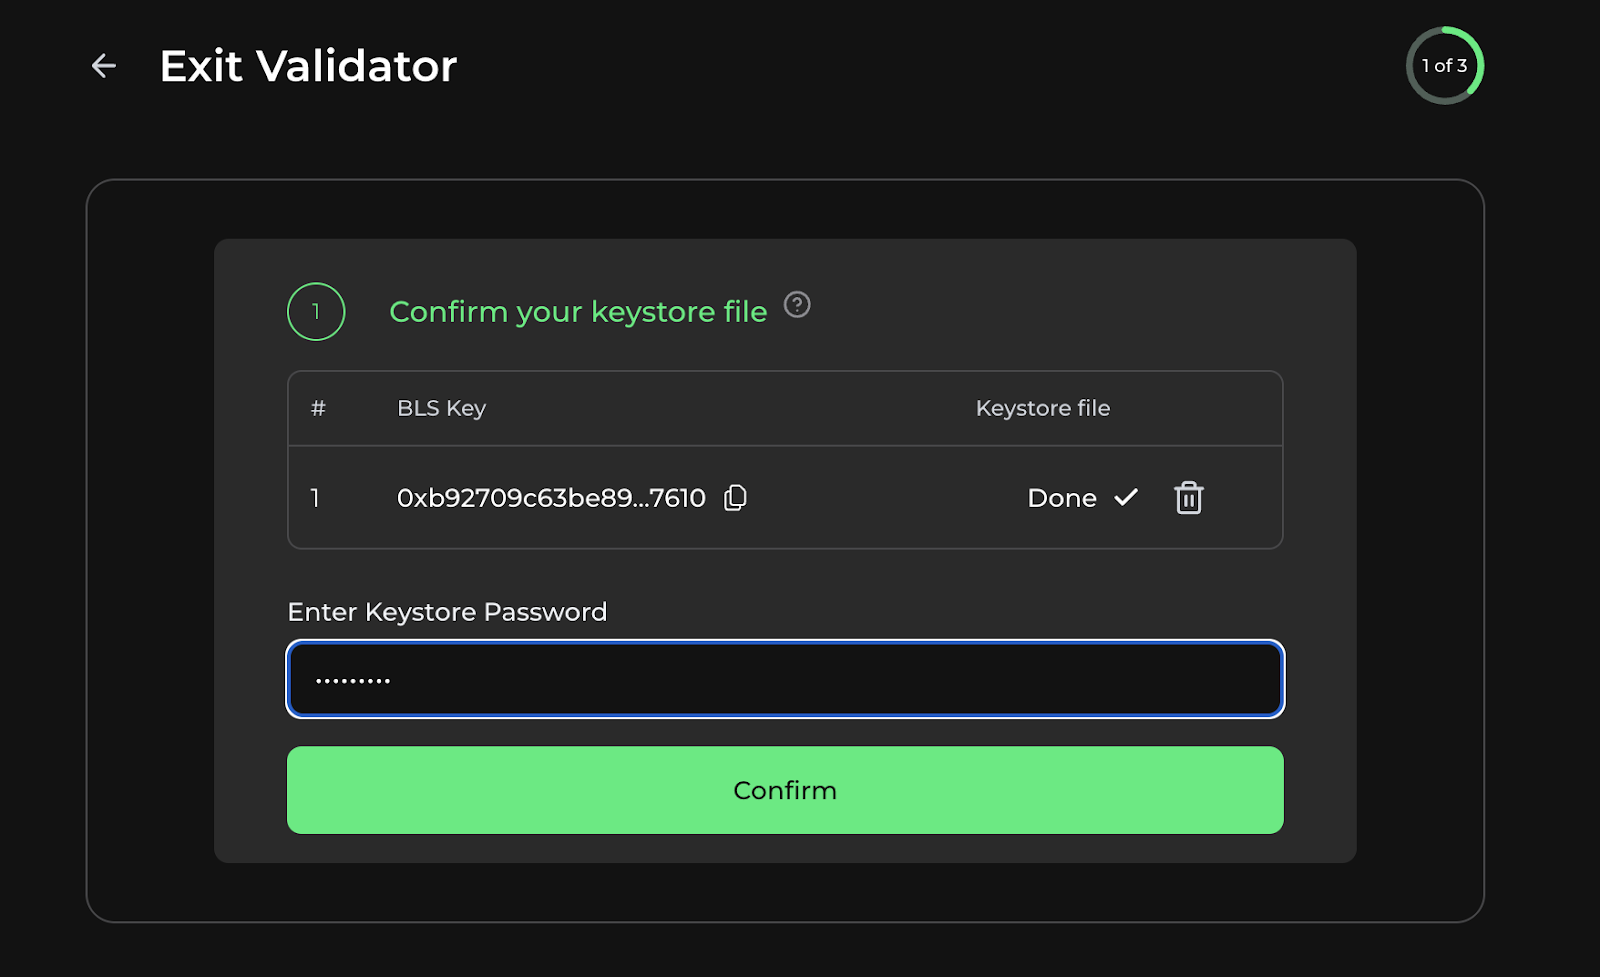
After you do this, you will officially start the validator withdrawal process. The waiting time may vary depending on the number of validators in the withdrawal queue.
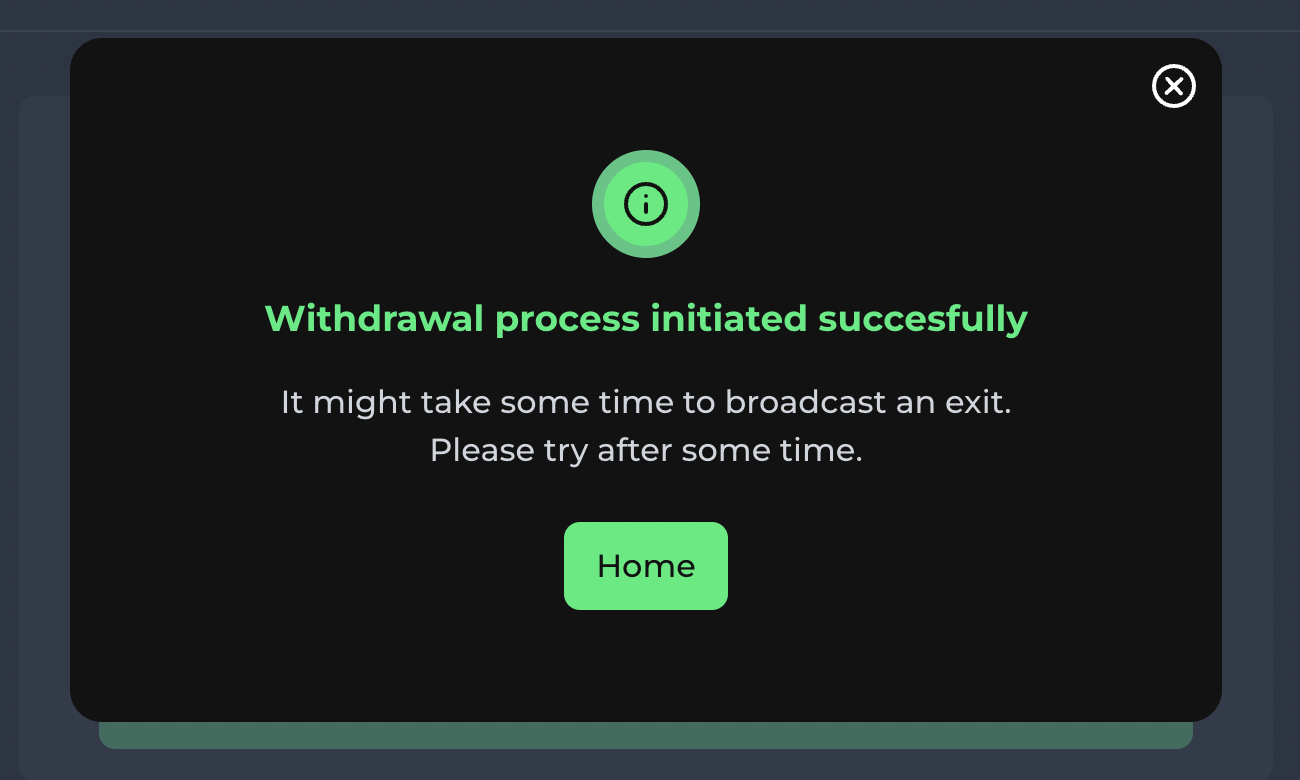
Step 3: Begin Validator Withdrawal
Once your withdrawal waiting time runs out, click “Exiting” next to the validator you are withdrawing to continue the withdrawal process.
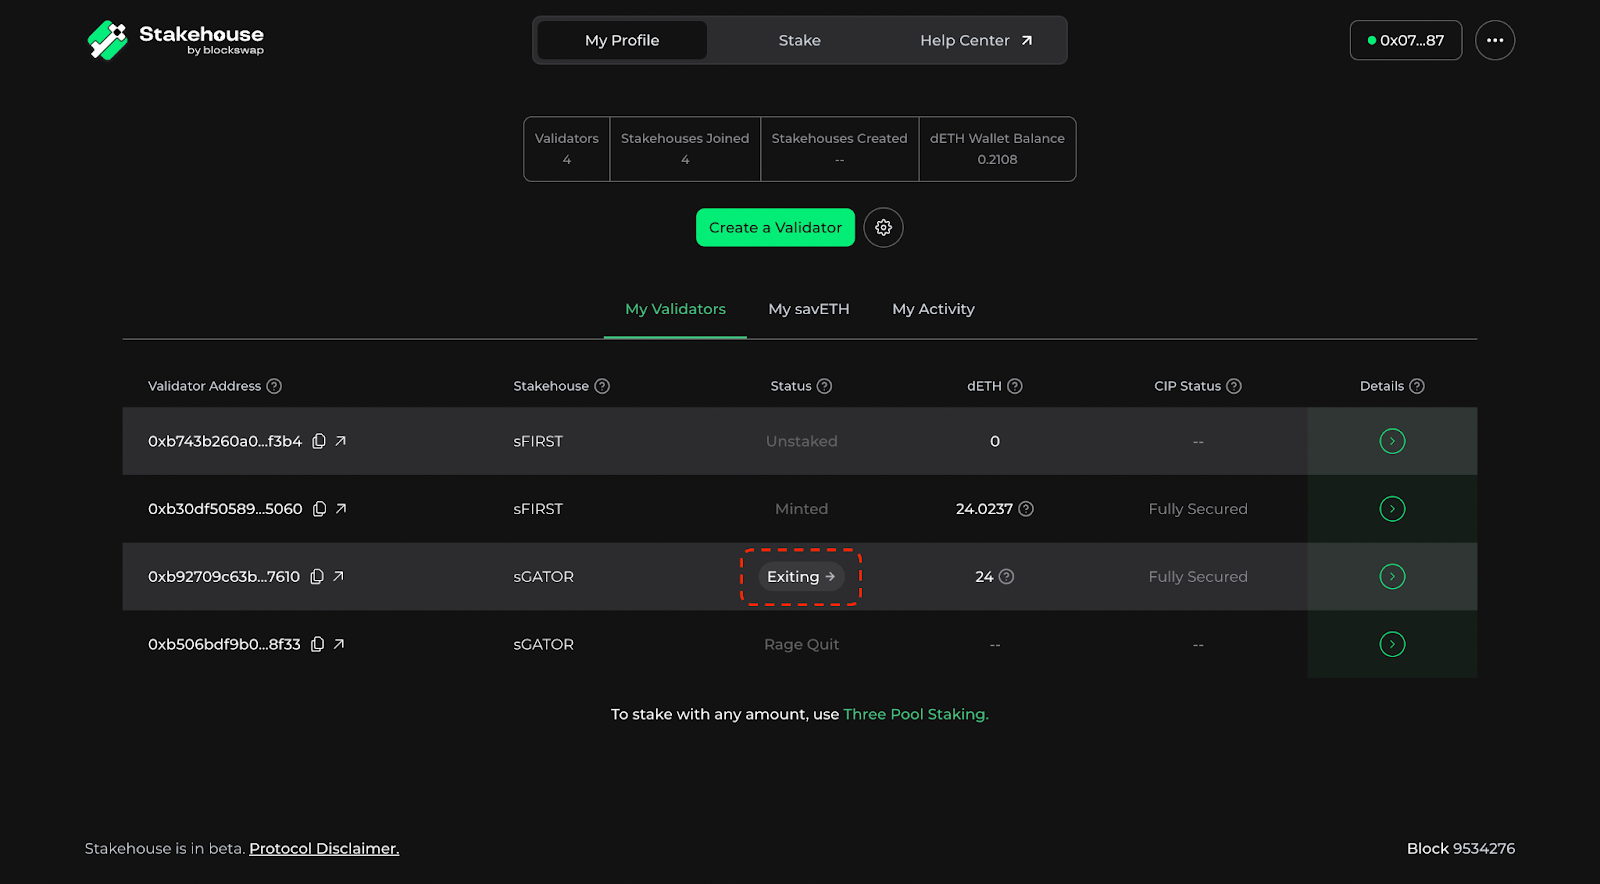
You will then be prompted to report the voluntary withdrawal for your validator. When this happens, click “Confirm”.
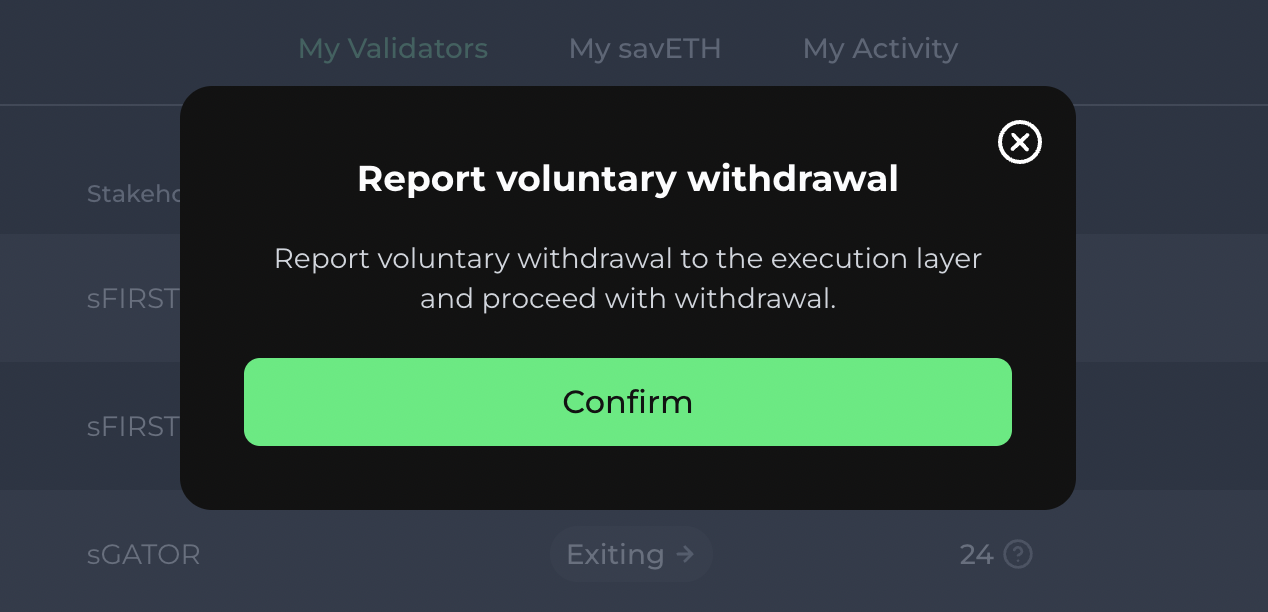
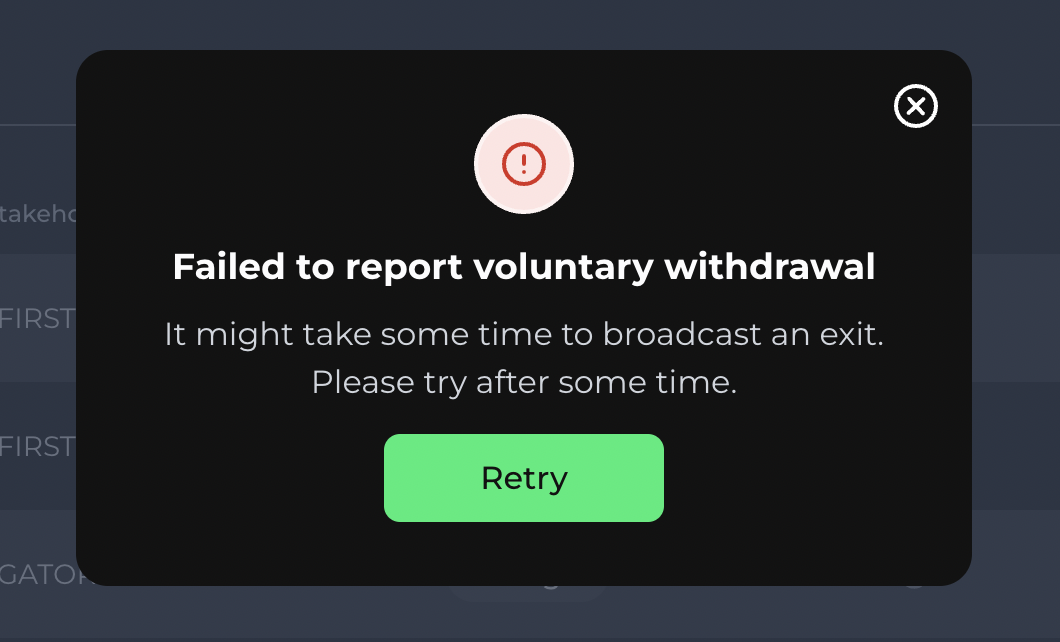
Note that it may take some time for the withdrawal to broadcast to the Execution Layer. If you are prompted with the following pop-up, simply wait longer and try again later.
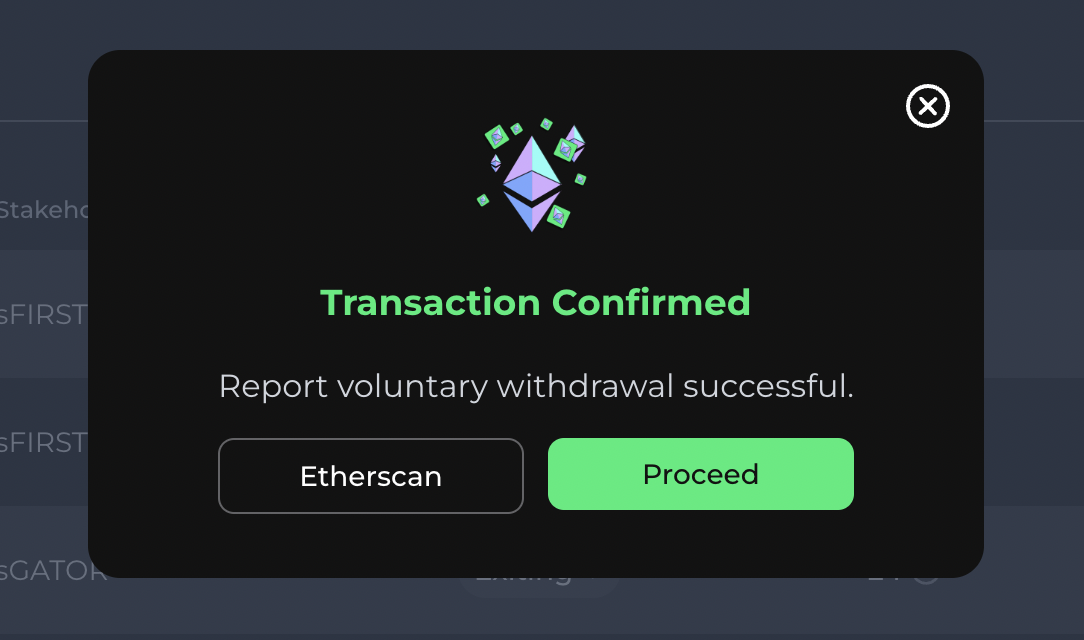
Once you have successfully reported the voluntary withdrawal, you will be prompted with the following success confirmation. From here, click “Proceed” to continue the withdrawal process.
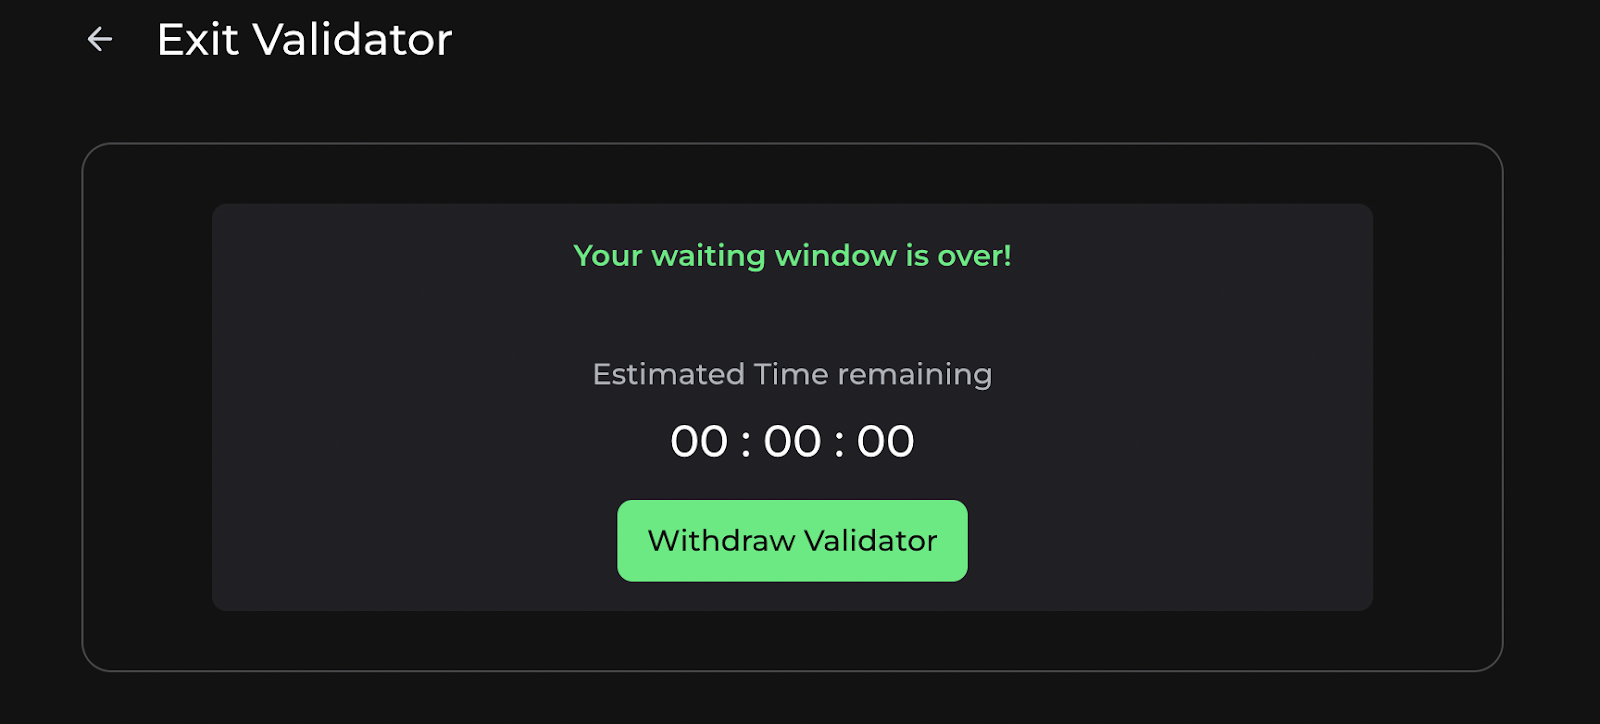
Next, you will be shown the following window. From here, click “Withdraw Validator”.
Step 4: Report Balance & Top Up
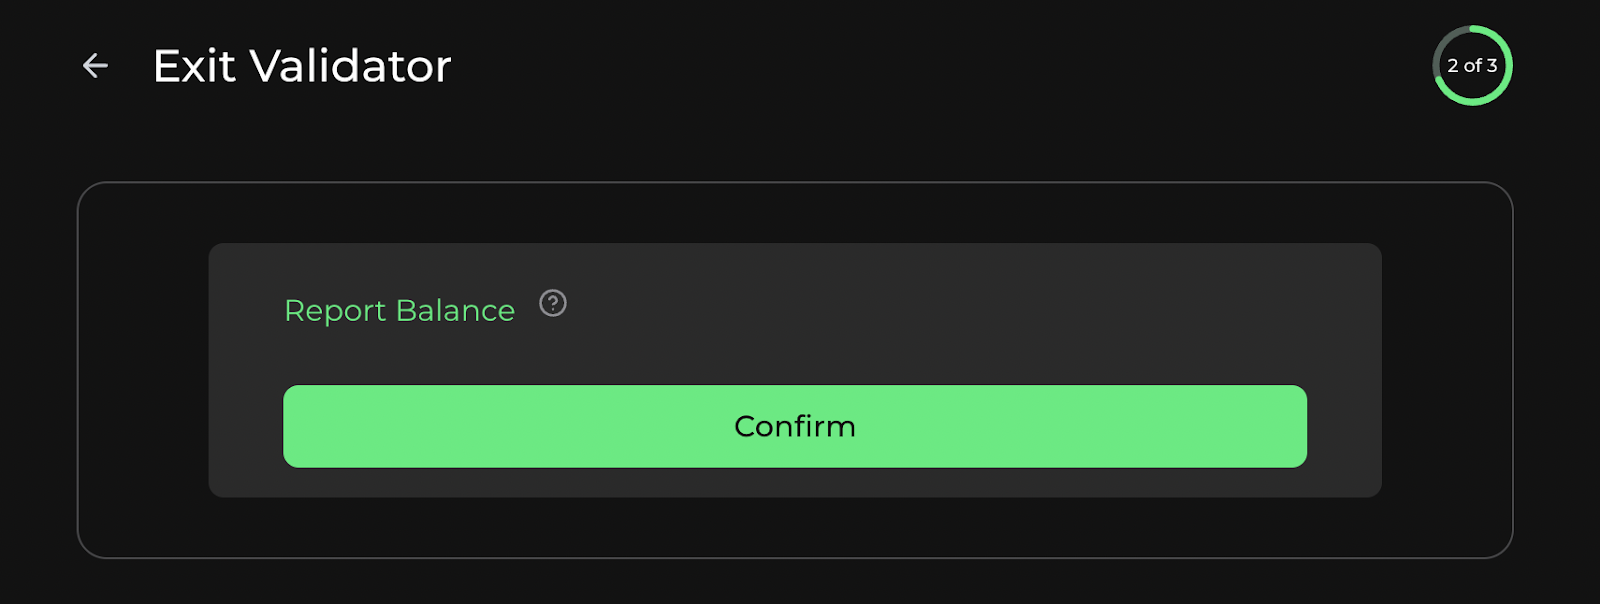
Click “Confirm” to retrieve your validator’s Balance Report from the Consensus Layer.
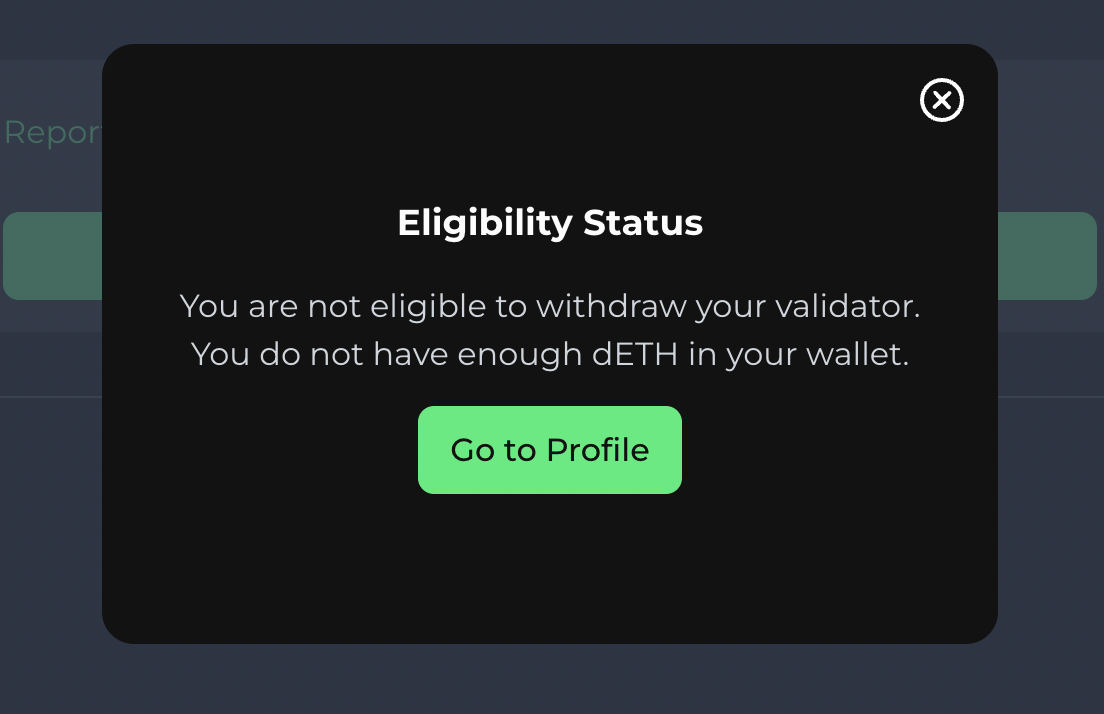
IMPORTANT NOTE: You must have 24 dETH in your wallet to successfully report your validator’s balance. If you do not, you will be prompted with the following pop-up.
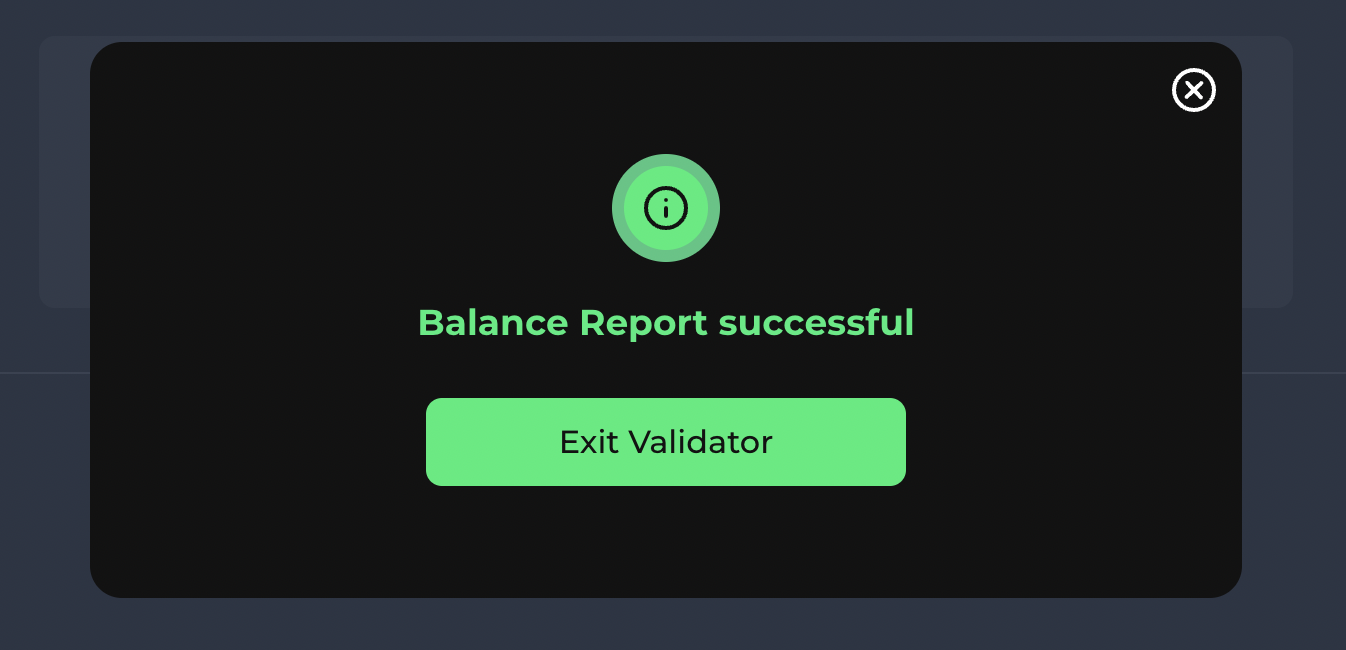
After you successfully report your validator’s balance, a new pop-up will appear. From here, click “Exit Validator”.
Step 5: Withdraw Your Validator
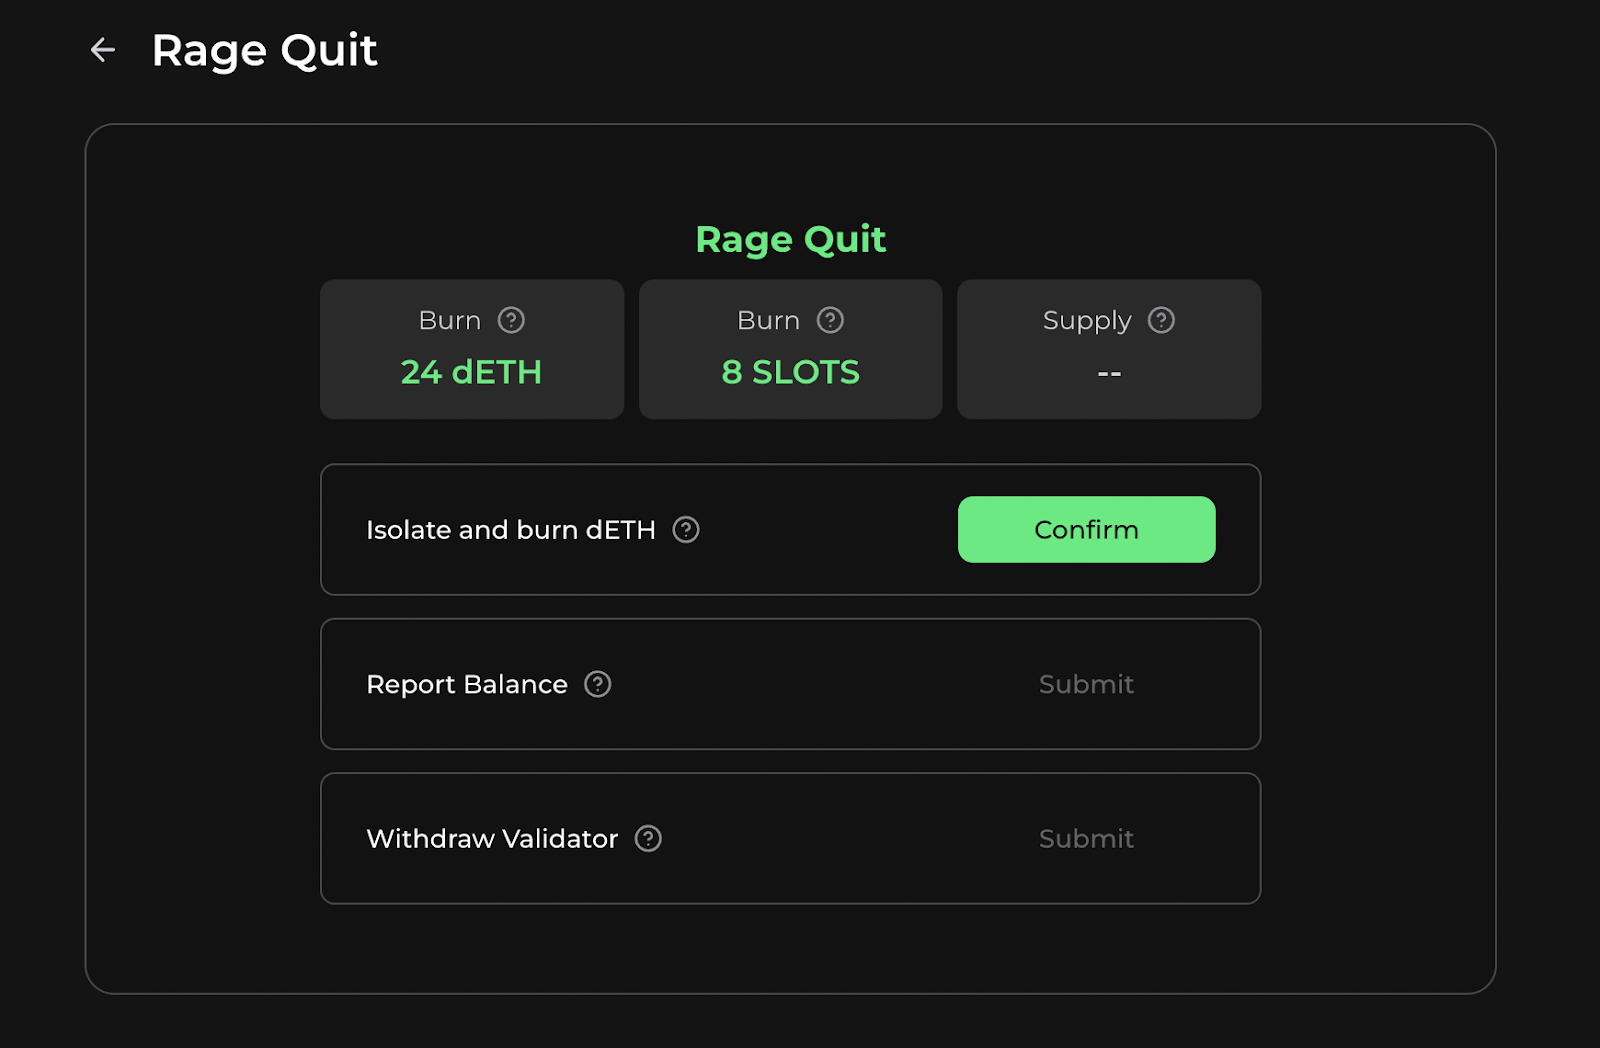
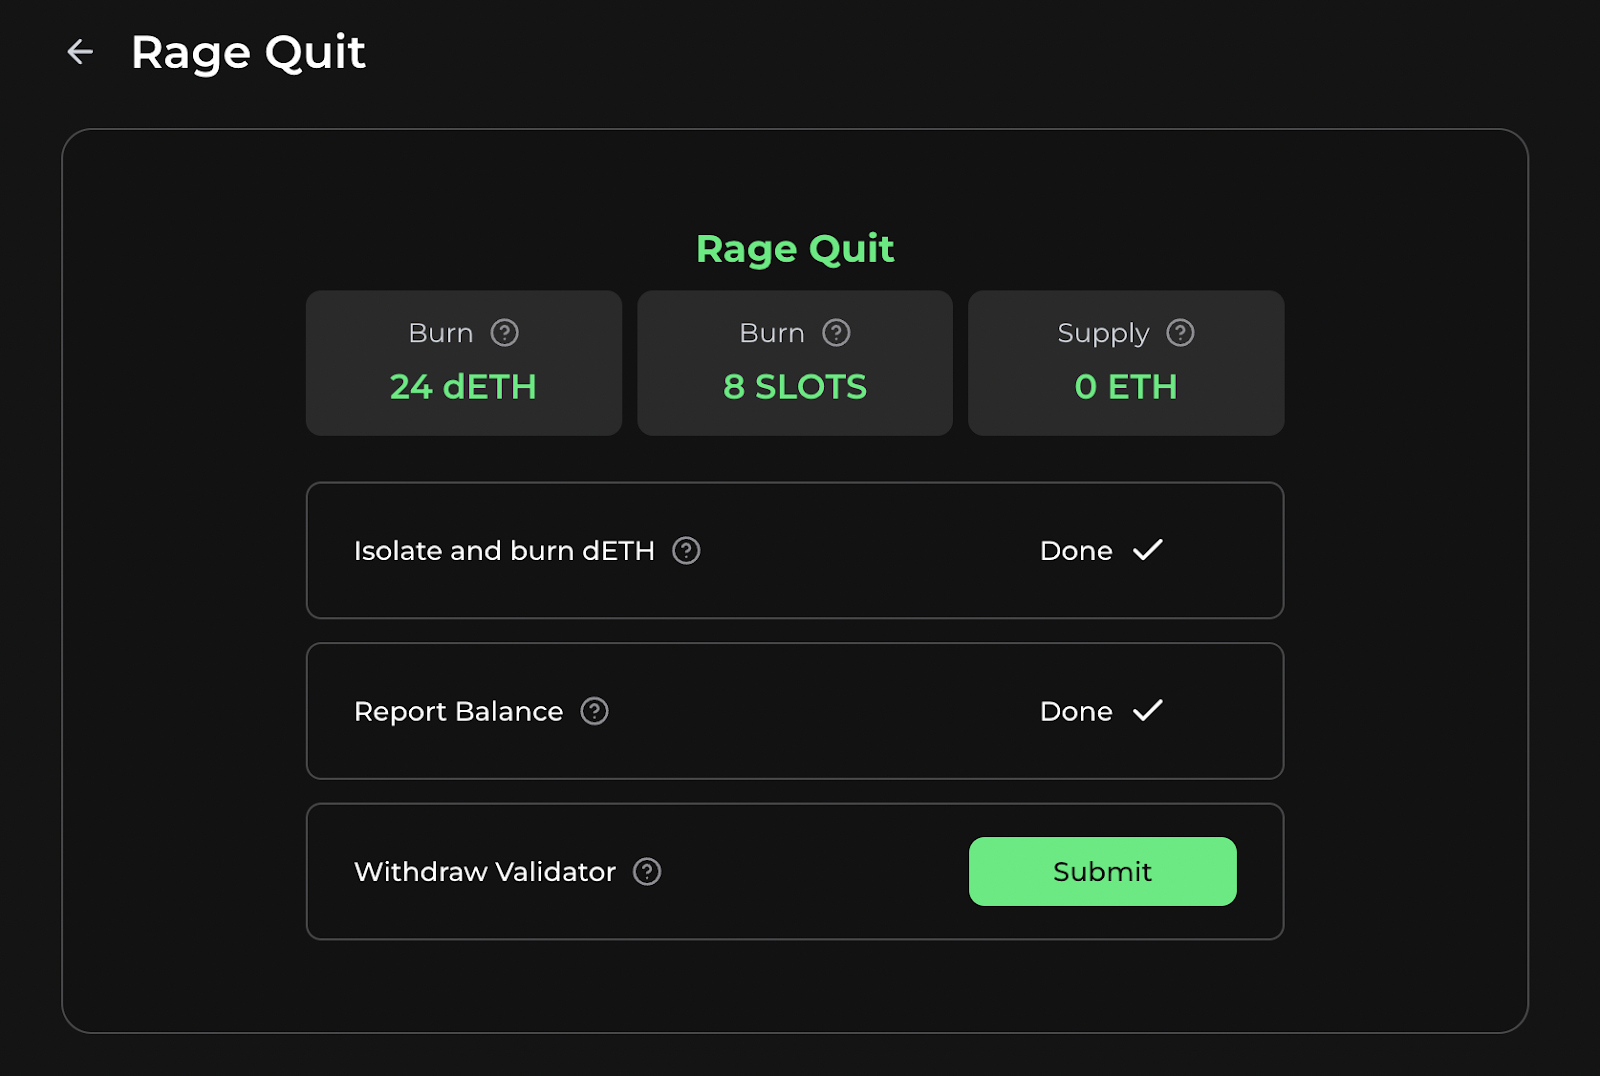
The final step of the validator withdrawal process consists of three parts.
First, isolate and burn the dETH associated with the savETH in your validator.
Second, report your vaidator’s balance to verify that the conditions are met to remove your validator from the Stakehouse registry.
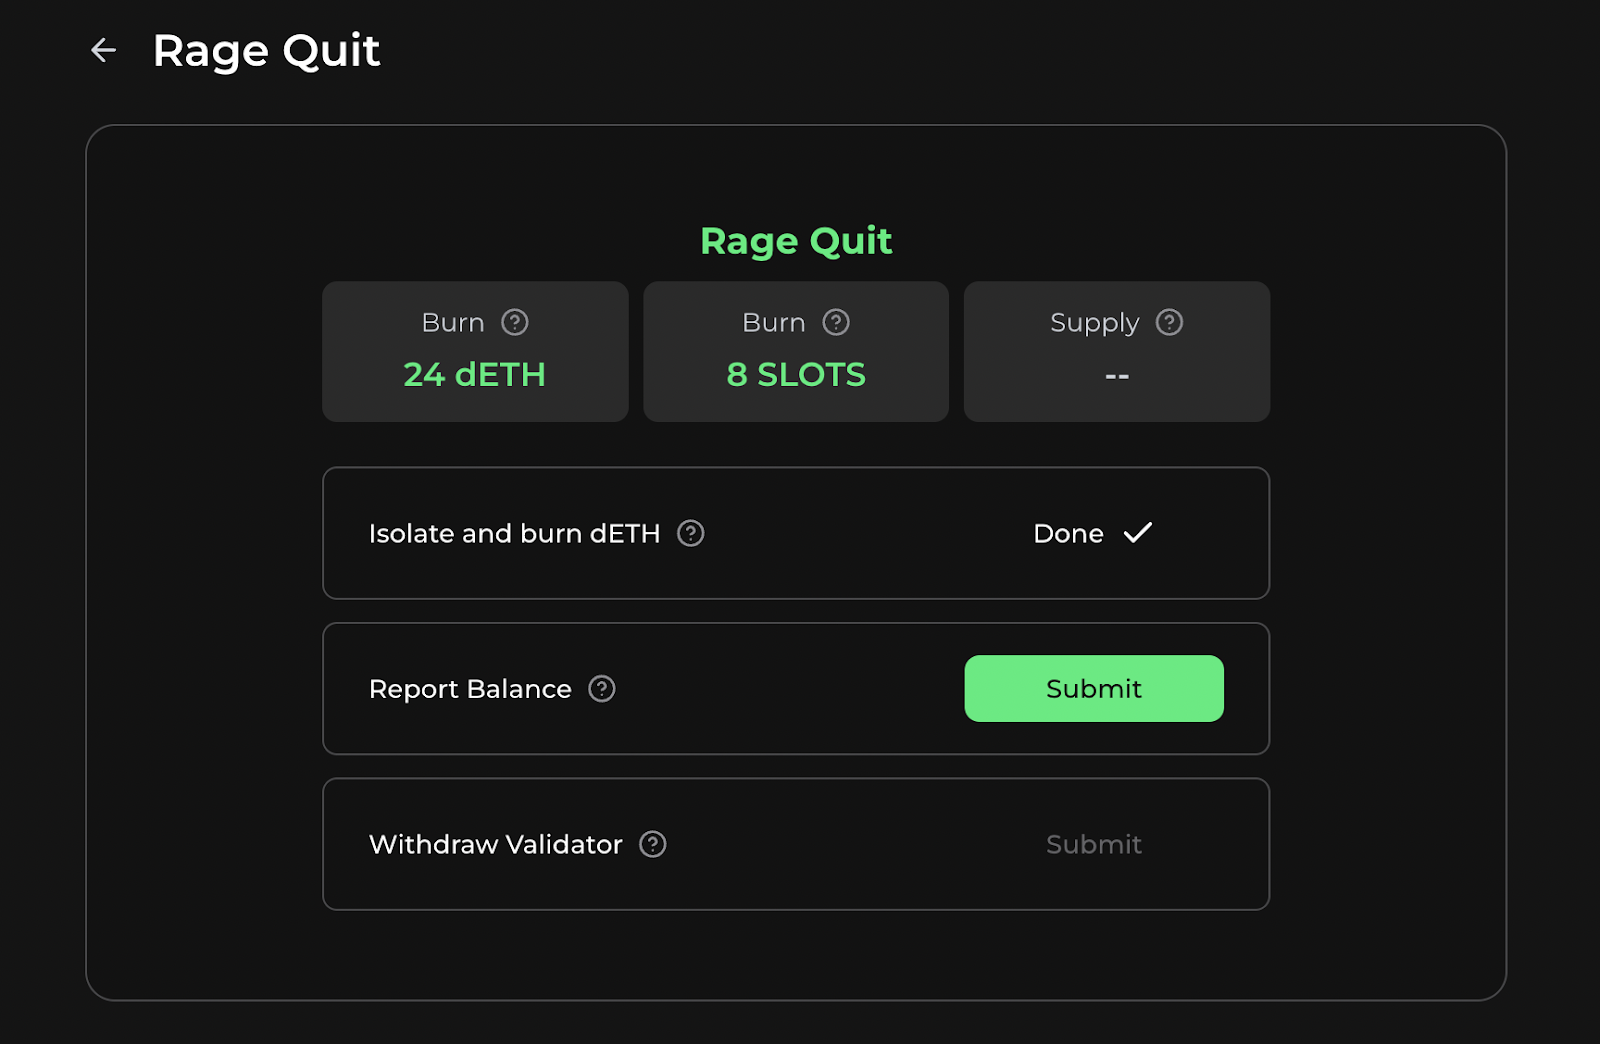
Finally, withdraw your validator by removing its KNOT from the Stakehouse registry.
Please note that if the “Supply” is non-zero in the top-right section, then you will be asked to top-up the difference before you can complete the withdrawal process.
IMPORTANT NOTE: This step cannot be undone!
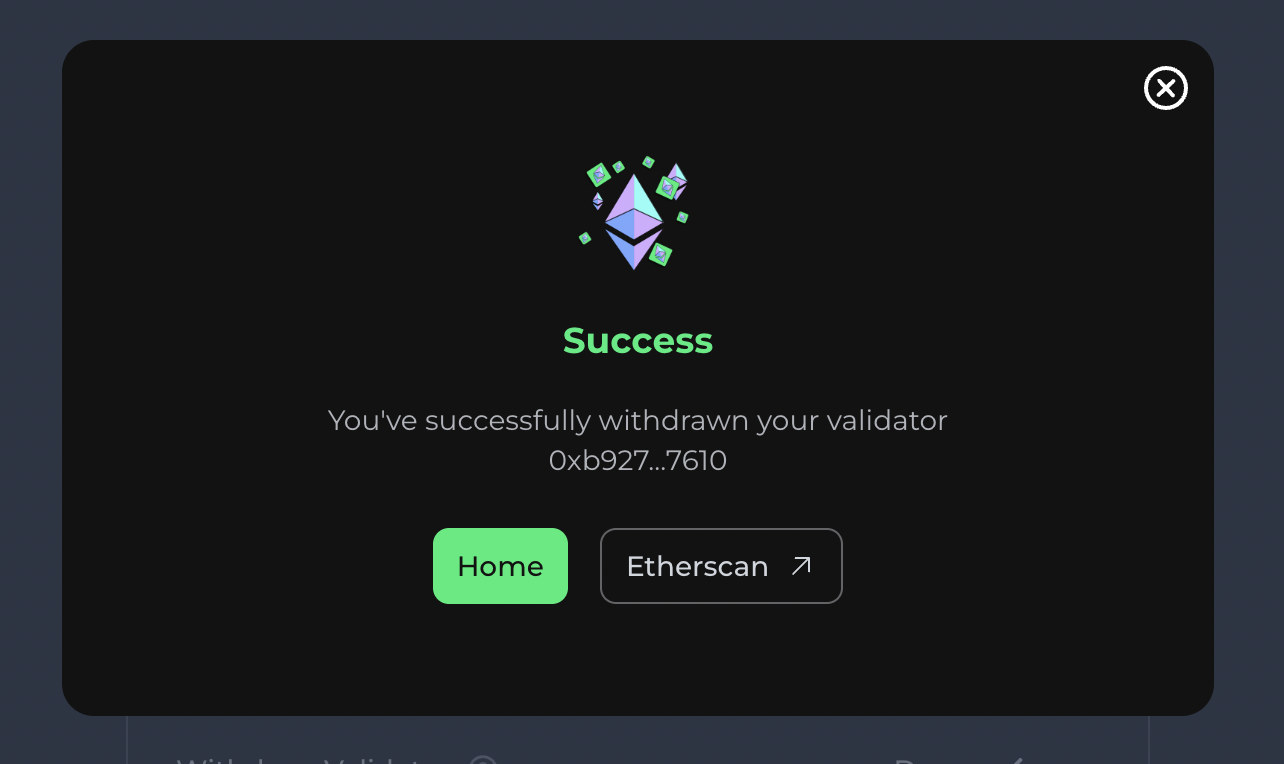
After you successfully withdraw your validator from the Stakehouse protocol, you will be prompted with the following pop-up.
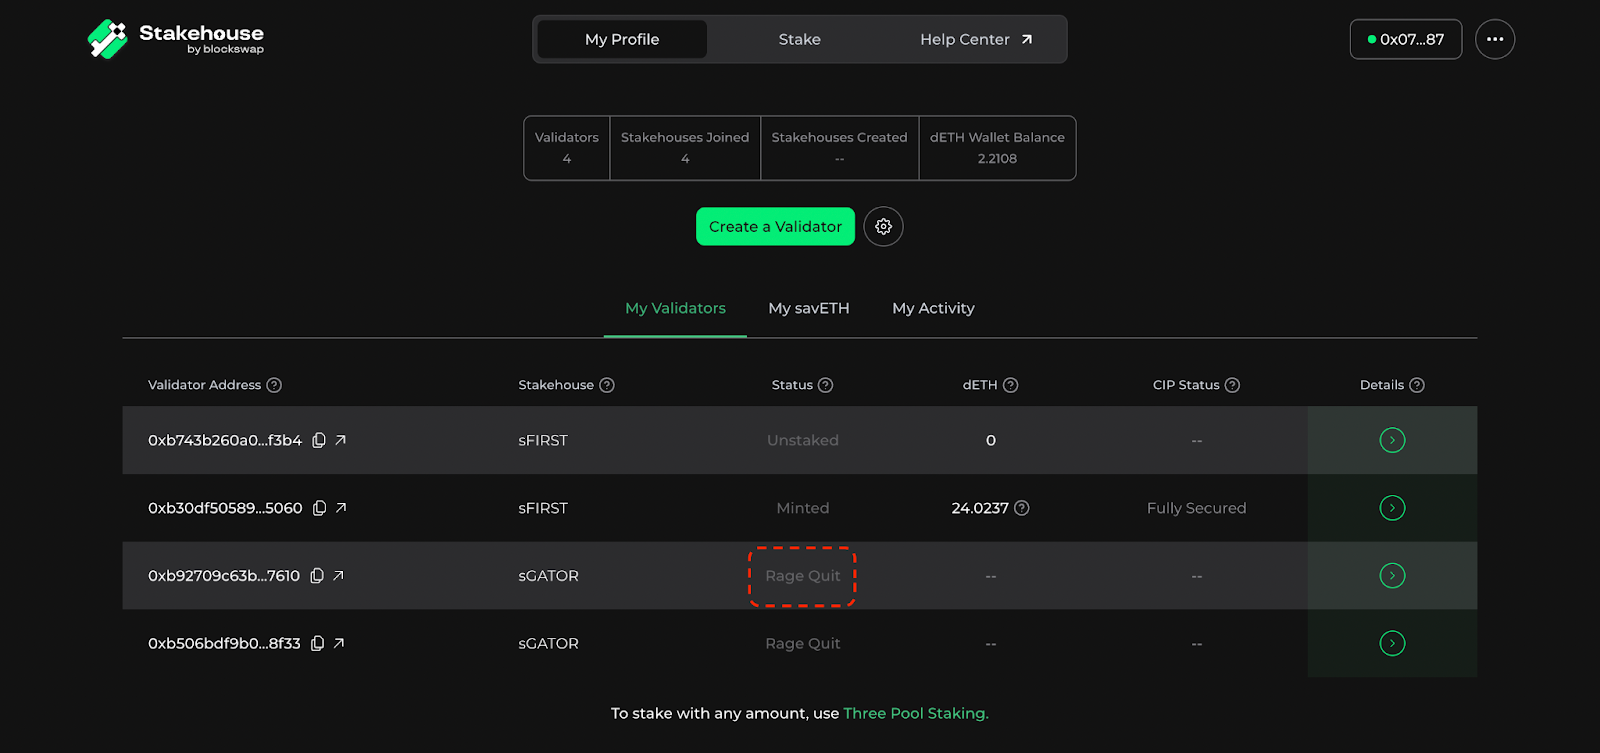
You will notice that your validator’s status has changed to “Rage Quit” on your validator home page.
Join the Blockswap Discord for the latest updates, announcements.